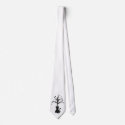
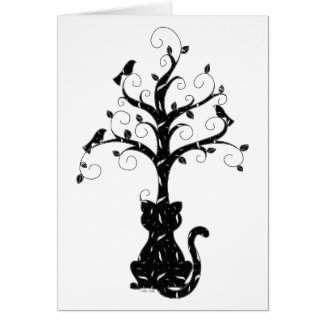
Topiary Profile Card
Today's design was inspired by some beautiful Moroccan tiles. Yes I know they look nothing like a Moroccan tile but I had them on my mind while I was designing these patterns. I always loved the fine detail that goes into the work behind the tiles. Today I decided to try something new and open up Illustrator to start to draw my own intricate design.
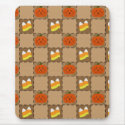
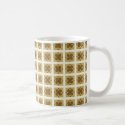
I love Earth tones and green is my favorite color, olive green to be exact. I wanted to do a complex design but use it in a primitive drawing. Topiaries are pretty simple, A ball, a stick and a pot, all very simple shapes but when you decorate them with complex designs they become a little more interesting plus I got to use Earth tones.
To begin I made a series of shapes using circles, squares and ovals until I had a small design. I copied this design and formed a bit of an intricate square which I then dragged into the swatch palette. I made several variations of this design, and my four best are featured in the new section of my store entitled "Pretty Patterns" There are also business cards that you can personalize right on the site.
This process did take quite some time, although I did enjoy it. I hope to do some more in the near future. Perhaps other colors I usually wouldn't work in, maybe something fun, who knows what will happen until it does.


.